In the world of architecture, 3D architectural rendering has become an essential tool for visualizing and presenting designs. Gone are the days of relying solely on 2D blueprints and sketches. With the advent of advanced software and technology, architects can now create stunningly realistic 3D renderings that help clients, investors, and stakeholders better understand and appreciate architectural designs. In this comprehensive guide, we will explore the techniques and tools involved in 3D architectural rendering.
Understanding 3D Architectural Rendering
Techniques for 3D Architectural Rendering
Modeling
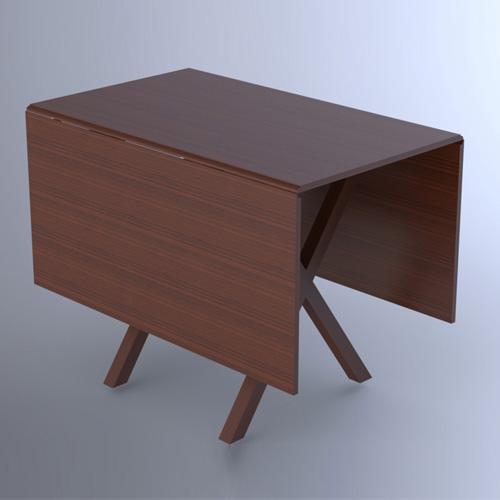
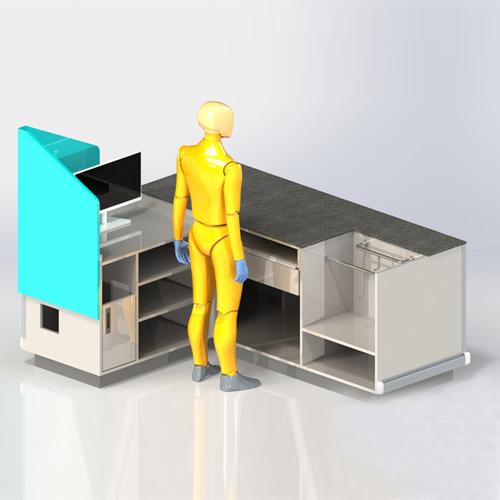
The first step in creating a 3D architectural rendering is creating a 3D model. This involves digitally constructing the building or space using specialized software. The model should accurately represent the design’s geometry, including walls, floors, windows, and other architectural elements.Texturing and Materials
Once the 3D model is created, textures and materials are applied to the surfaces to simulate real-world materials such as wood, concrete, glass, and metal. This step adds visual depth and realism to the rendering.Lighting and Shadows
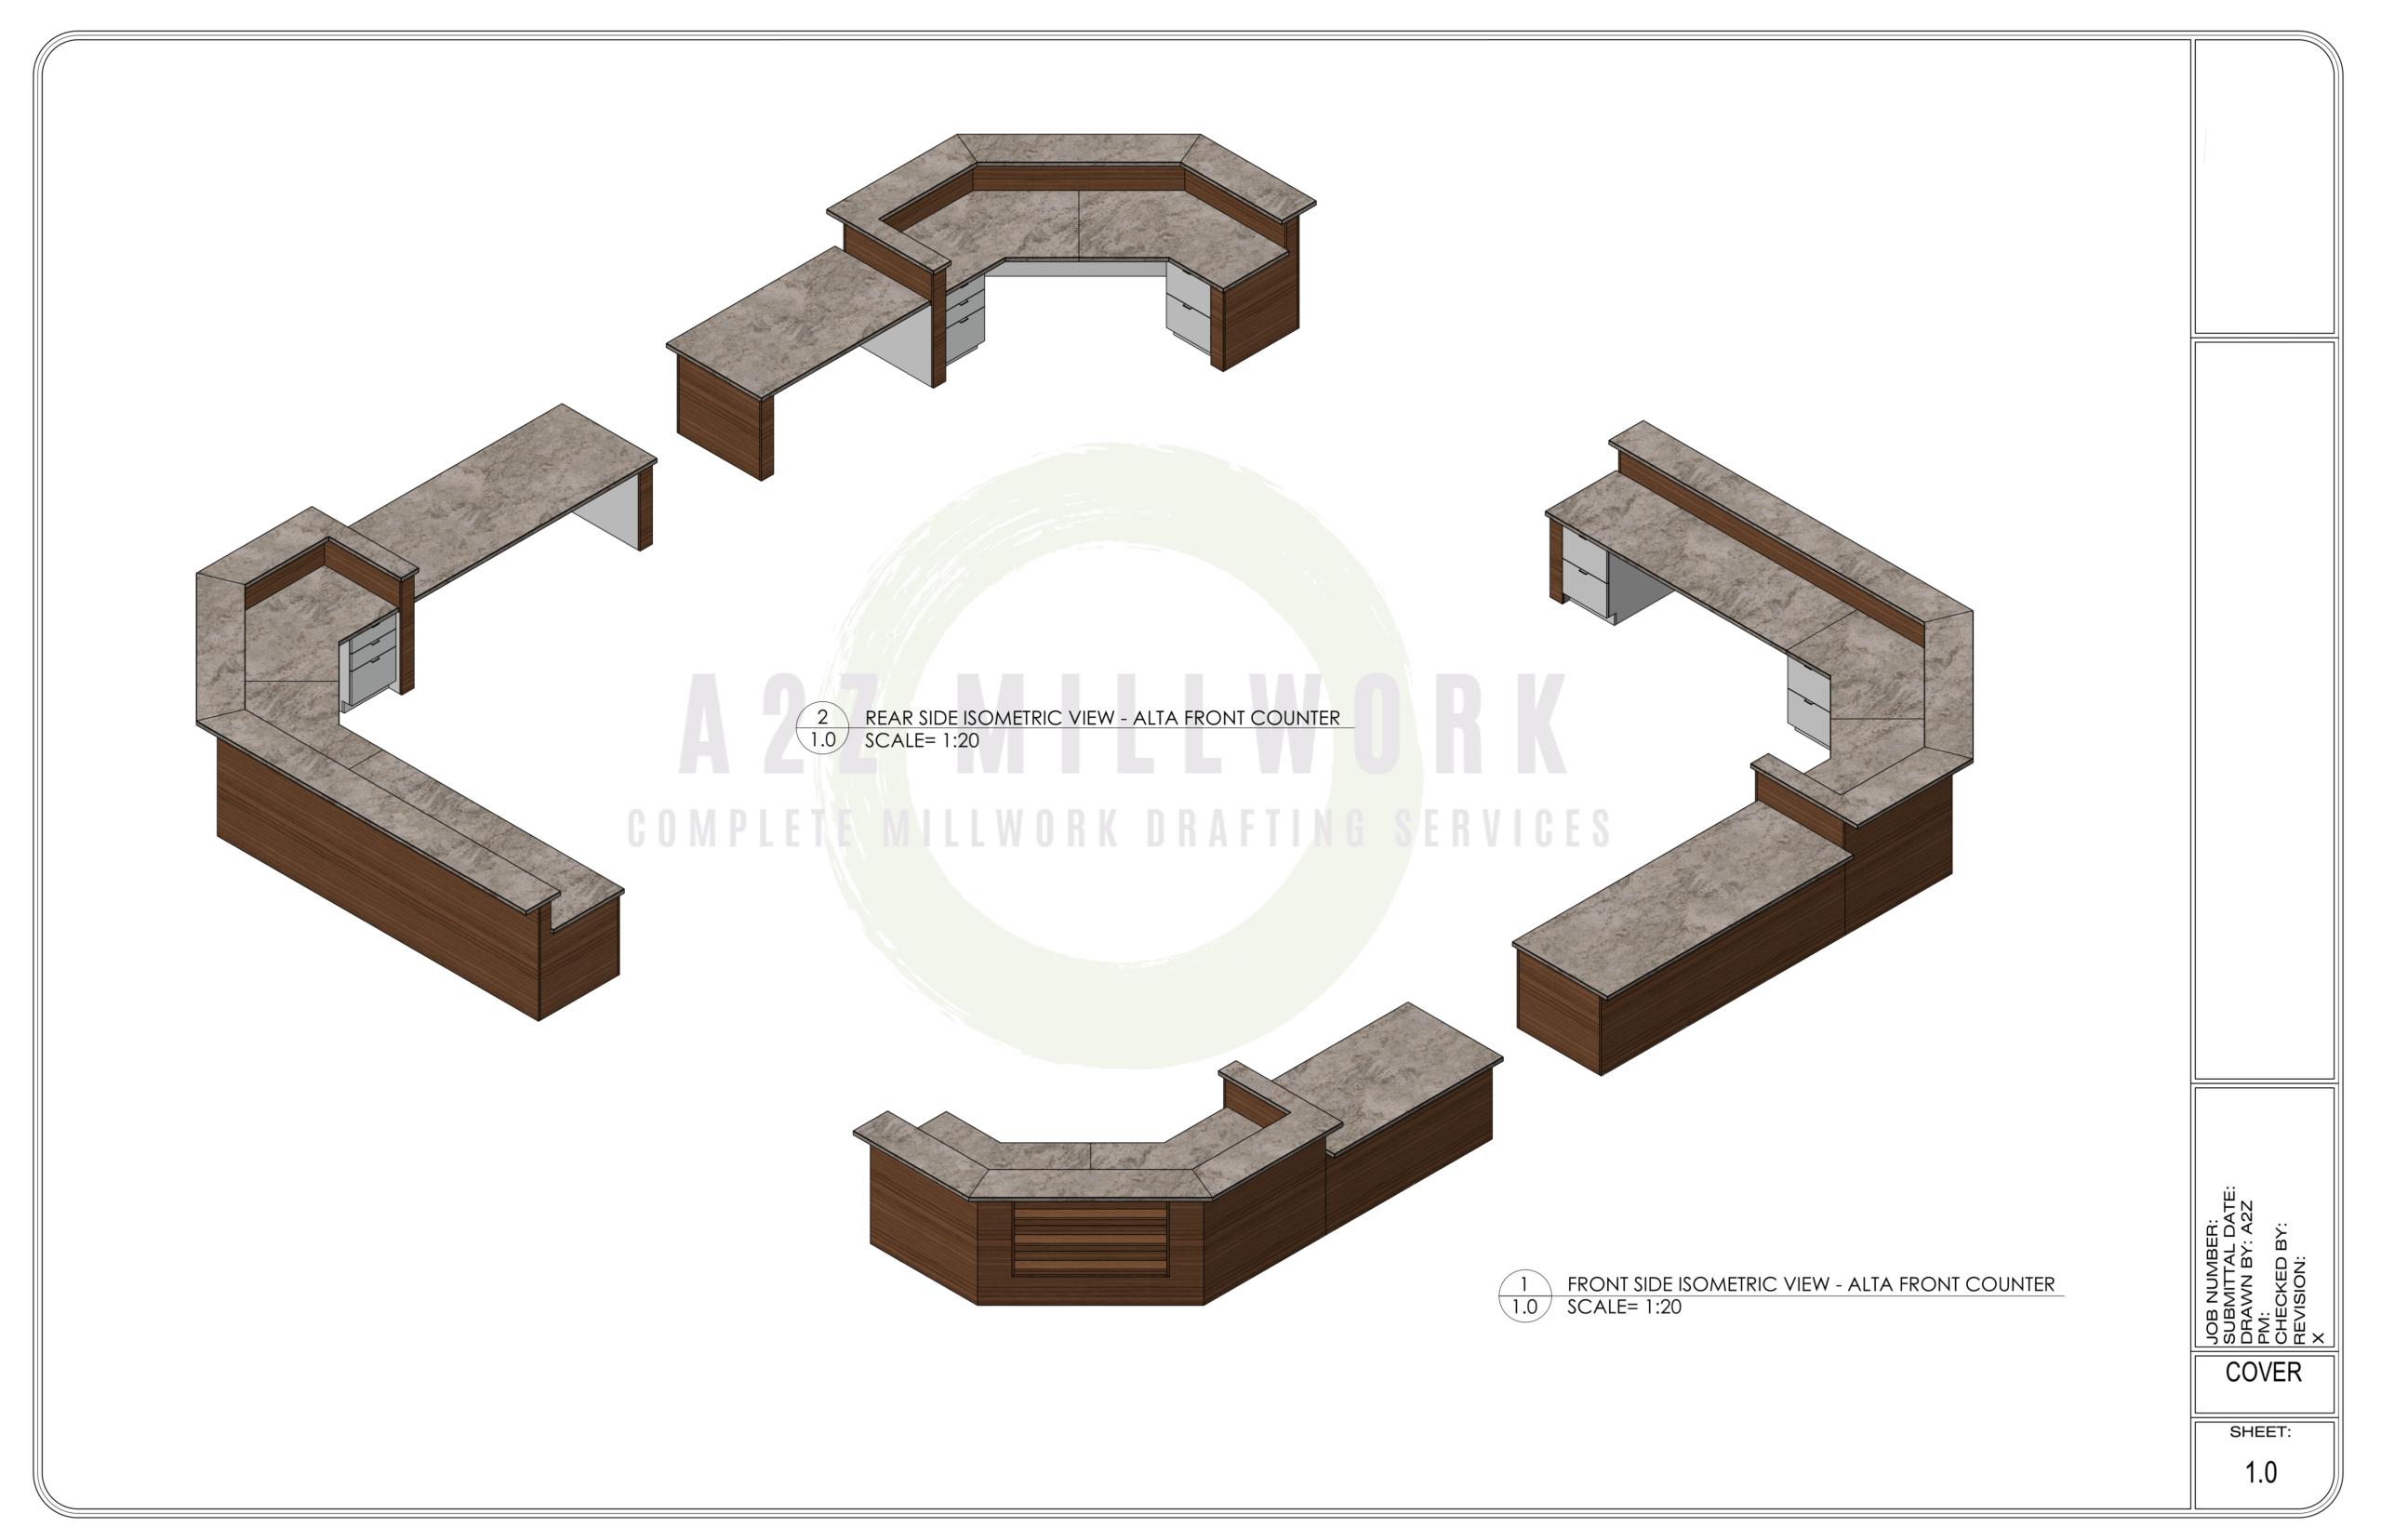
Lighting plays a crucial role in creating realistic renderings. By strategically placing light sources within the virtual environment, shadows and reflections are generated, adding depth and enhancing the overall atmosphere of the scene.Environmental Elements
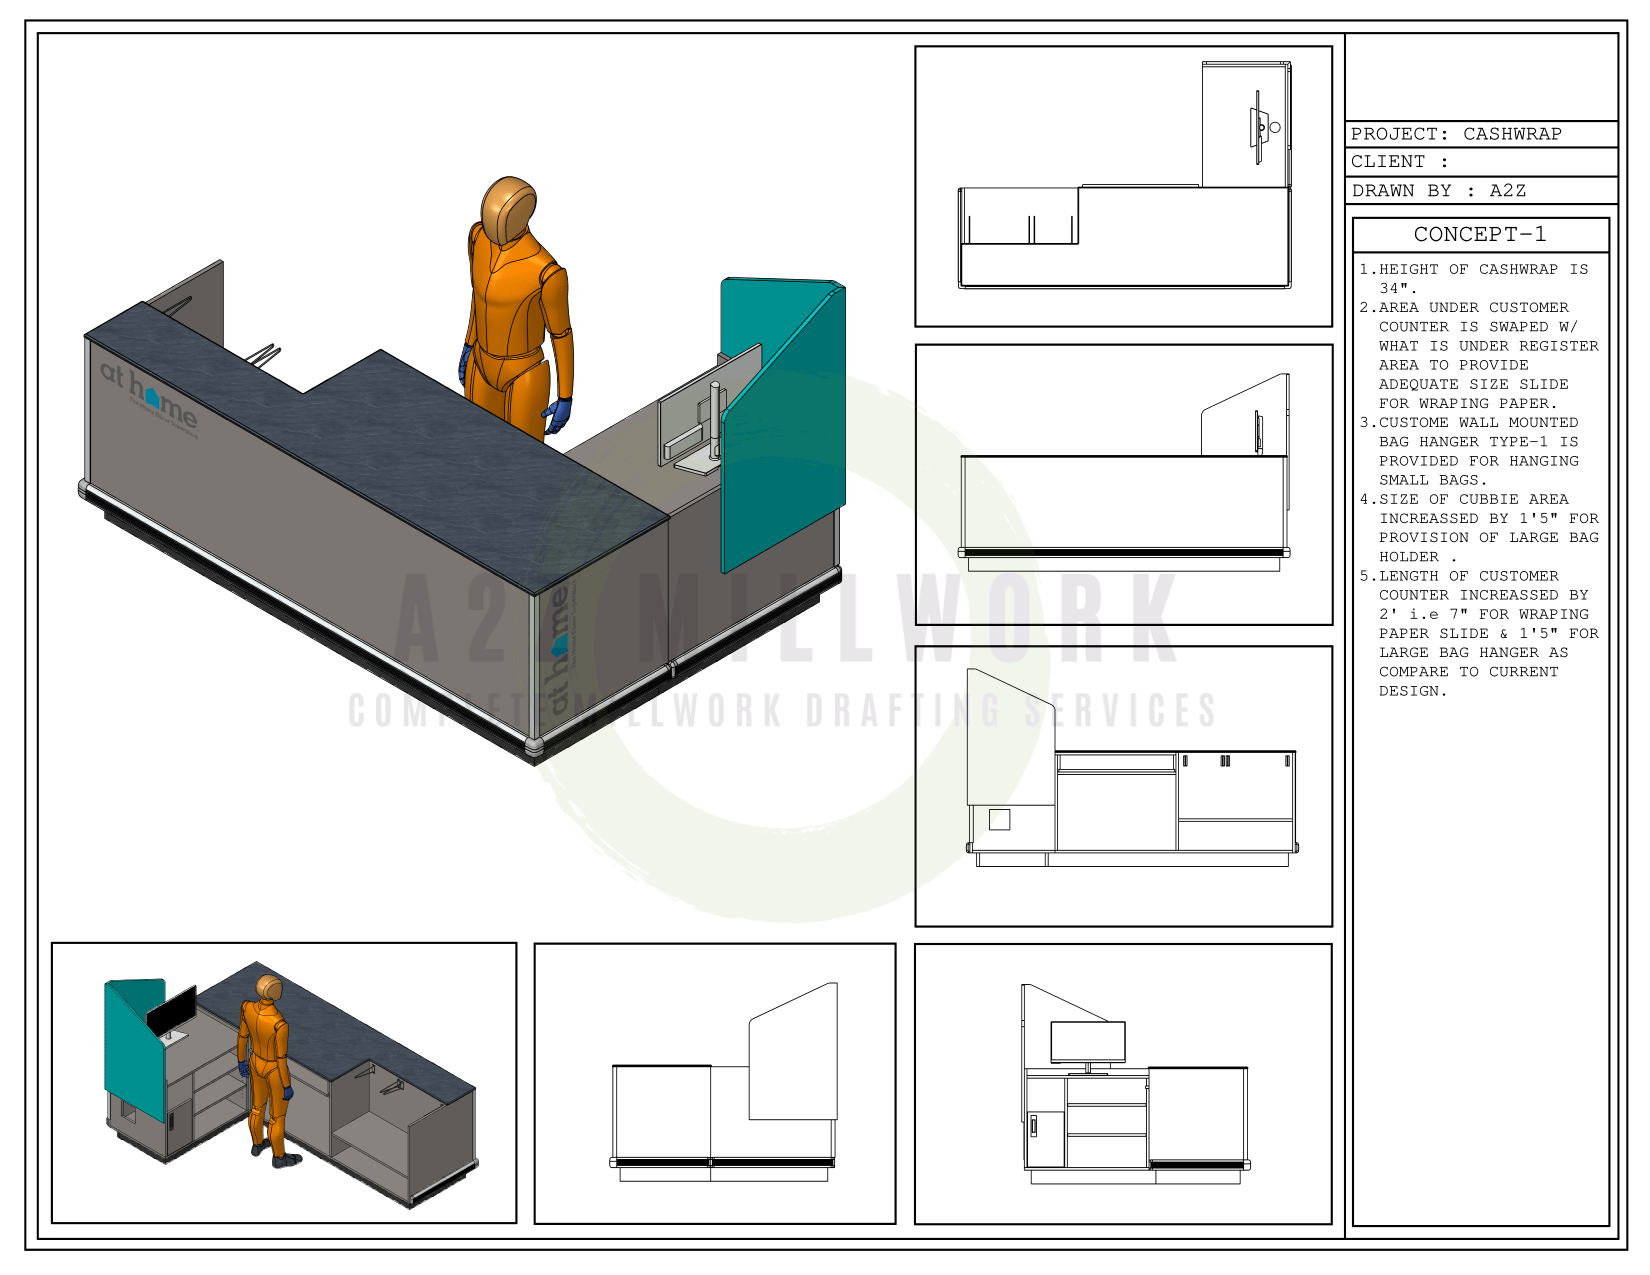
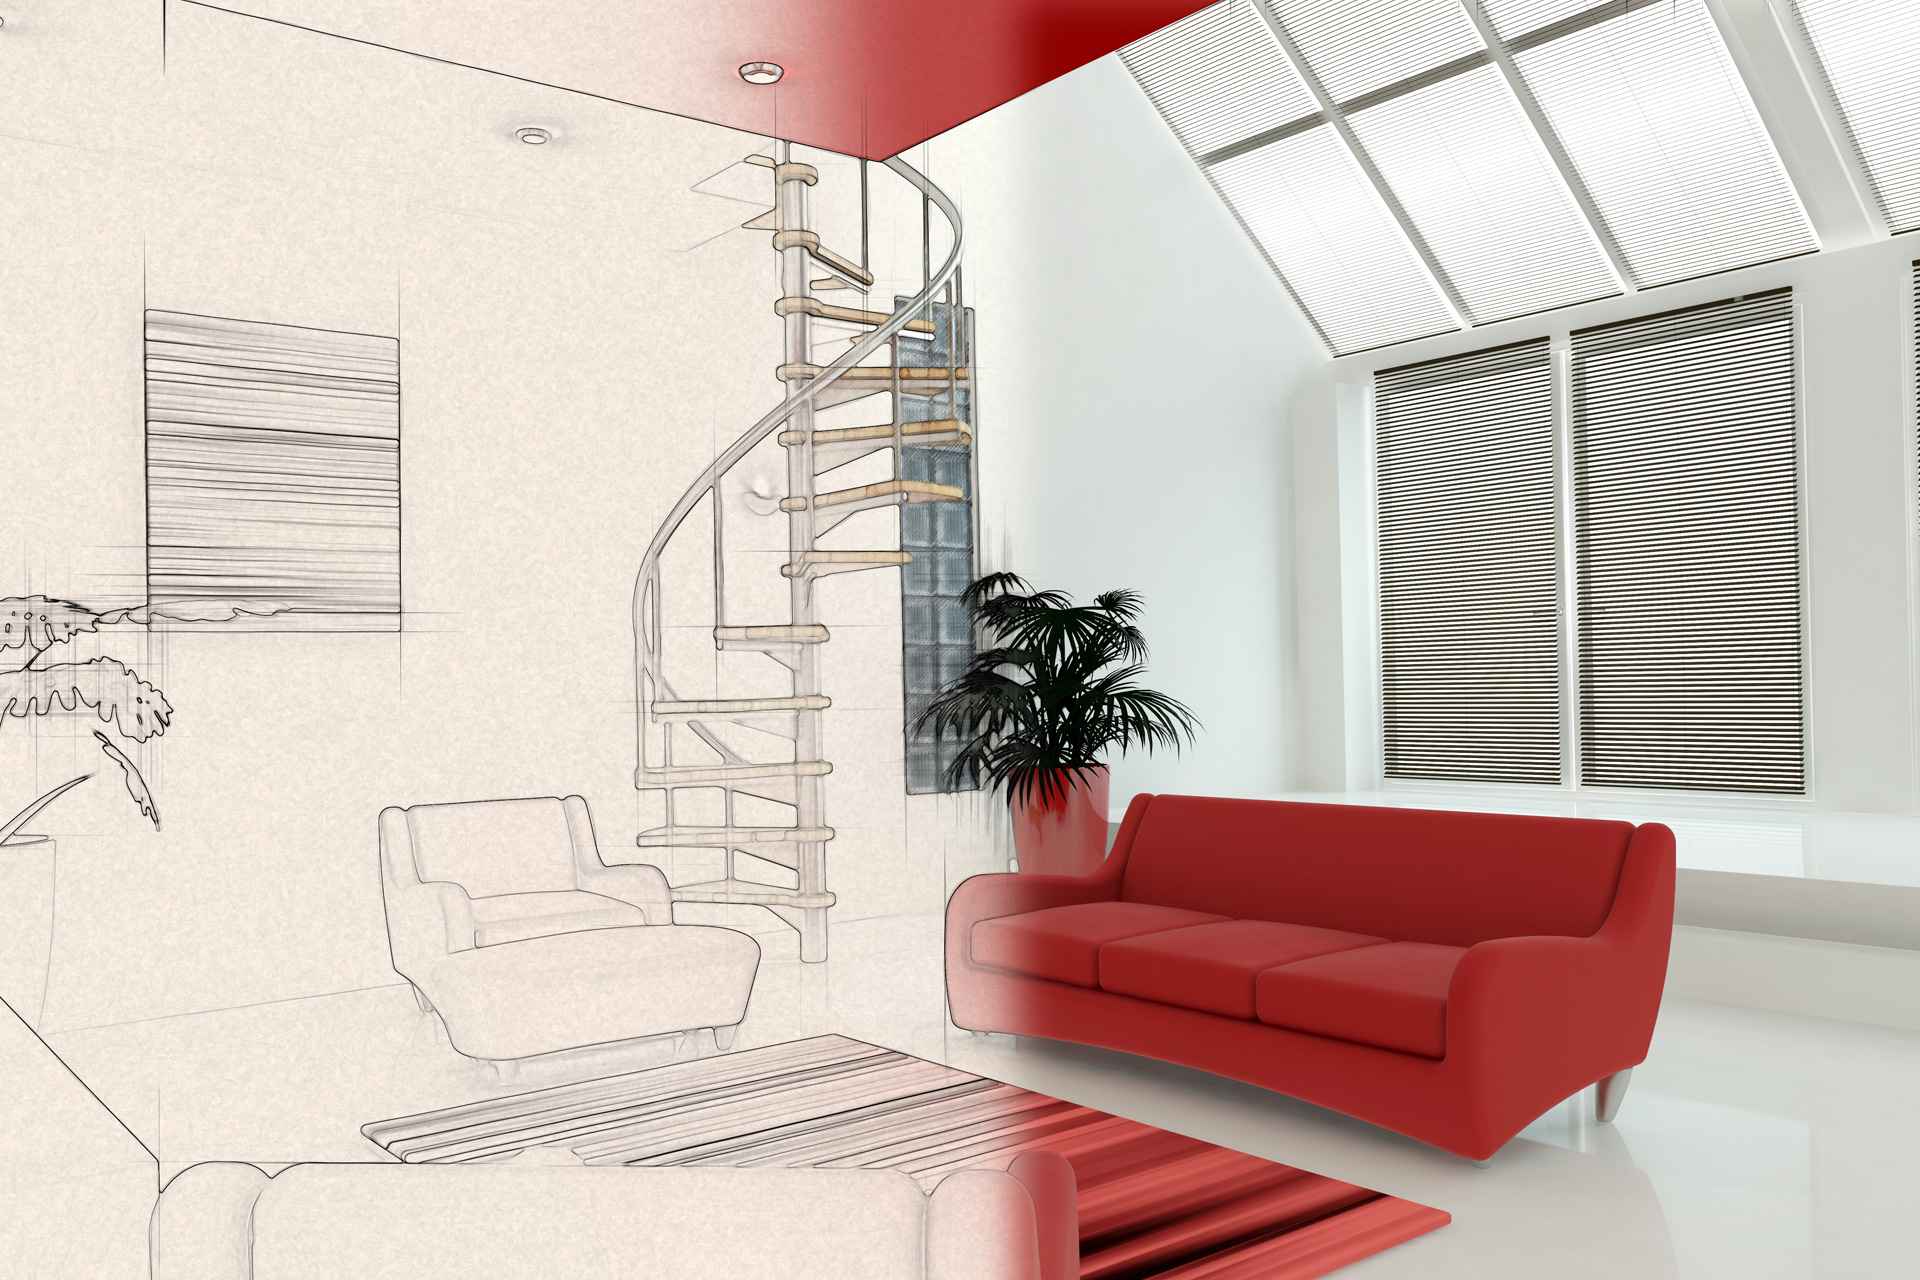
3D Architectural Rendering provides context and enhances the visualization. Environmental elements such as trees, foliage, furniture can be added to the space. These elements create a sense of scale, functionality, and human interaction within the architectural space.Tools for 3D Architectural Rendering
Rendering Engines
Rendering engines transform 3D models into realistic images or animations. Popular rendering engines include V-Ray, Corona Renderer, Arnold, and Lumion. These engines employ advanced algorithms to accurately simulate lighting, materials, and other visual effects.Post-Processing Software
Once the rendering is complete, post-processing software can be used to refine and enhance the final output. Programs like Adobe Photoshop, Lightroom, and After Effects offer many tools for adjusting colors, adding effects, and compositing elements.Best Practices for 3D Architectural Rendering
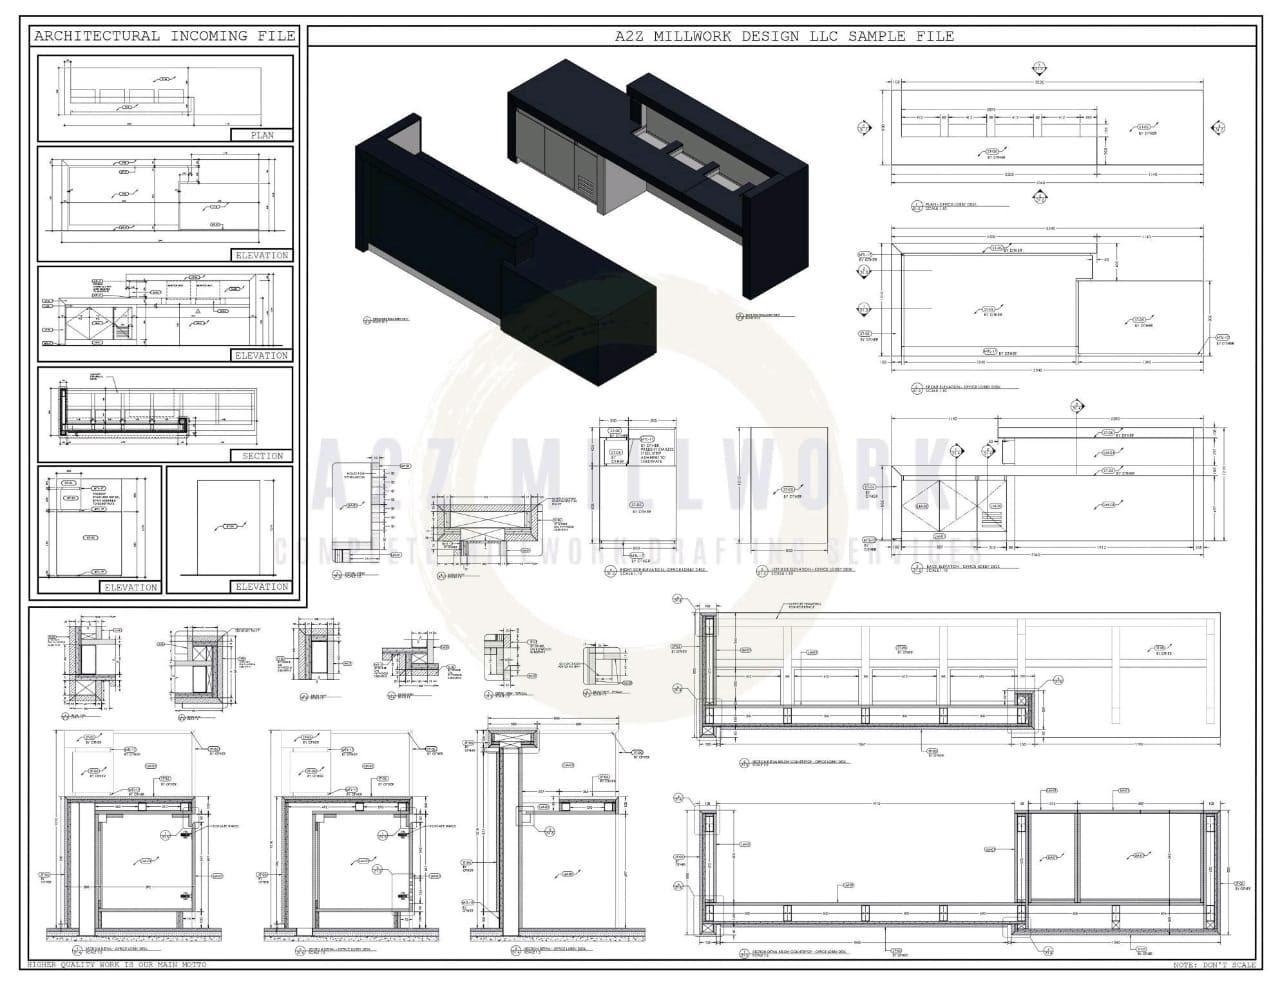
Time and cost efficiency are paramount in the fast-paced architectural industry. Millwork shop drawing services offer architects and designers the advantage of optimized project timelines and budgets. Architects can streamline the fabrication and installation processes with accurate and detailed shop drawings, reducing errors and rework. This results in improved project timelines and cost savings.Plan and Define Objectives
Before starting any 3D architectural rendering project, planning and defining clear objectives is crucial. Understand the purpose of the rendering, the target audience, and the specific elements that must be highlighted. This will help you stay focused and create an effective rendering.Use High-Quality Assets
Ensure you access high-quality 3D models, textures, and materials. Investing in good assets will significantly enhance the realism and overall quality of the rendering. Look for reliable sources or consider hiring professional 3D modelers to create custom assets for your project.Pay Attention to Lighting and Shadows
Lighting plays a vital role in creating a realistic and visually appealing rendering. Experiment with different lighting setups to achieve the desired mood and ambiance. Additionally, pay attention to shadows and their interaction with the environment to add depth and realism to the scene.Optimize Textures and Materials
Properly optimize textures and materials to strike a balance between quality and performance. High-resolution textures can significantly increase rendering times and file sizes. Use texture compression techniques and consider using procedural textures where applicable to optimize performance.Focus on Composition and Framing
Apply principles of composition and framing to create visually pleasing renders. Consider the rule of thirds, leading lines, and other composition techniques to guide the viewer’s eye and highlight key elements in the scene. Experiment with different camera angles and perspectives to find the most impactful composition.Pay Attention to Detail
Small details can make a big difference in the quality of your rendering. Add realistic elements such as furniture, plants, and decorative objects to bring life to the scene. To ensure accurate representation, consider materials’ reflectivity, roughness, and other physical properties.Test Render Settings
Rendering can be time-consuming, so finding the right balance between quality and render times is essential. Experiment with different render settings to achieve the desired output while optimizing render times. Consider using render farms or distributed rendering techniques for large-scale projects.Post-Processing and Final Touches
Post-processing can greatly enhance the final rendering. Use image editing software to adjust colors, contrast and add effects like depth of field or lens flares. Additionally, consider adding subtle imperfections and details to create a more realistic and lived-in look.Solicit Feedback and Iteration
Seek feedback from clients, colleagues, or other professionals in the industry. Iteration is a crucial part of the rendering process, and constructive feedback can help improve the final result. Be open to suggestions and make necessary adjustments to refine the rendering.Stay Updated with Industry Trends and Techniques
3D architectural rendering constantly evolves. Stay updated with the latest industry trends, software updates, and techniques. Attend workshops, webinars, and conferences to learn from industry experts and expand your skill set.Sum Up- 3D architectural rendering has revolutionized the way architects and designers present their ideas and bring designs to life. With the right techniques and tools, it is now possible to create stunningly realistic renderings that aid in visualizing architectural projects. By understanding the rendering process, utilizing the appropriate software tools, and following best practices, architects can effectively communicate their designs and engage stakeholders in a visually compelling manner.